Make Snack Time a Breeze with these Clever Organizing Tips
Have you ever opened your pantry door to have bags of chips come tumbling out? Do your kids insist they can’t find any snacks yet your pantry is stuffed to the brim? Organizing snacks in your pantry will save money & your sanity. Say goodbye to overbuying at the grocery as you’ll know what snacks you're low on AND your kids will be able to access snacks themselves (gasp!). Here are some easy steps to start tackling this project:
First Declutter, then Sort:
Pull out all snack items in the pantry (for your kids or anything jointly shared). As you pull out the snacks check for expiration dates. Then use the table or floor to start grouping snacks into categories. Start grouping by larger categories initially and become more granular after your initial sort. For example you could create a category called Chips that includes other things like Popcorn & Pretzels if in general you view these as all the same when reaching for a snack. However if you have the space in your pantry and perhaps some members of the family eat popcorn & pretzels versus a potato chip, it may make sense to split these out separately. I always recommend taking individually packaged snacks out of the larger package/box. It saves so much room!
Here are some common snack categories I use when sorting:
Chips
Pretzels/Popcorn
Nuts
Jerky
Bars
Fruit Snacks
Crackers
Sweets (general)
Candy
Cookies
Chip Bags (for lunch)
Contain:
The next step when organizing pantry snacks is to choose a container. In general I recommend choosing a style of bin that comes in a variety of widths. If a bin is too big, it becomes a dumping ground for all sorts of snacks where nothing can be found. If the bin is too small, your pantry can become quickly disorganized as contents overflow the bin. In terms of where to put these containers, you’ll want to organize kids snacks by putting them all on one shelf or all in the same area of the pantry. Put containers of snacks you want kids to access low enough so they can reach and snacks you want to monitor (say cookies and candy) up on higher shelves. Lastly keep a larger bin on a higher shelf for “overflow snacks” if you buy in bulk. Fill smaller containers from this bin first before restocking.
Snack organizers/products:
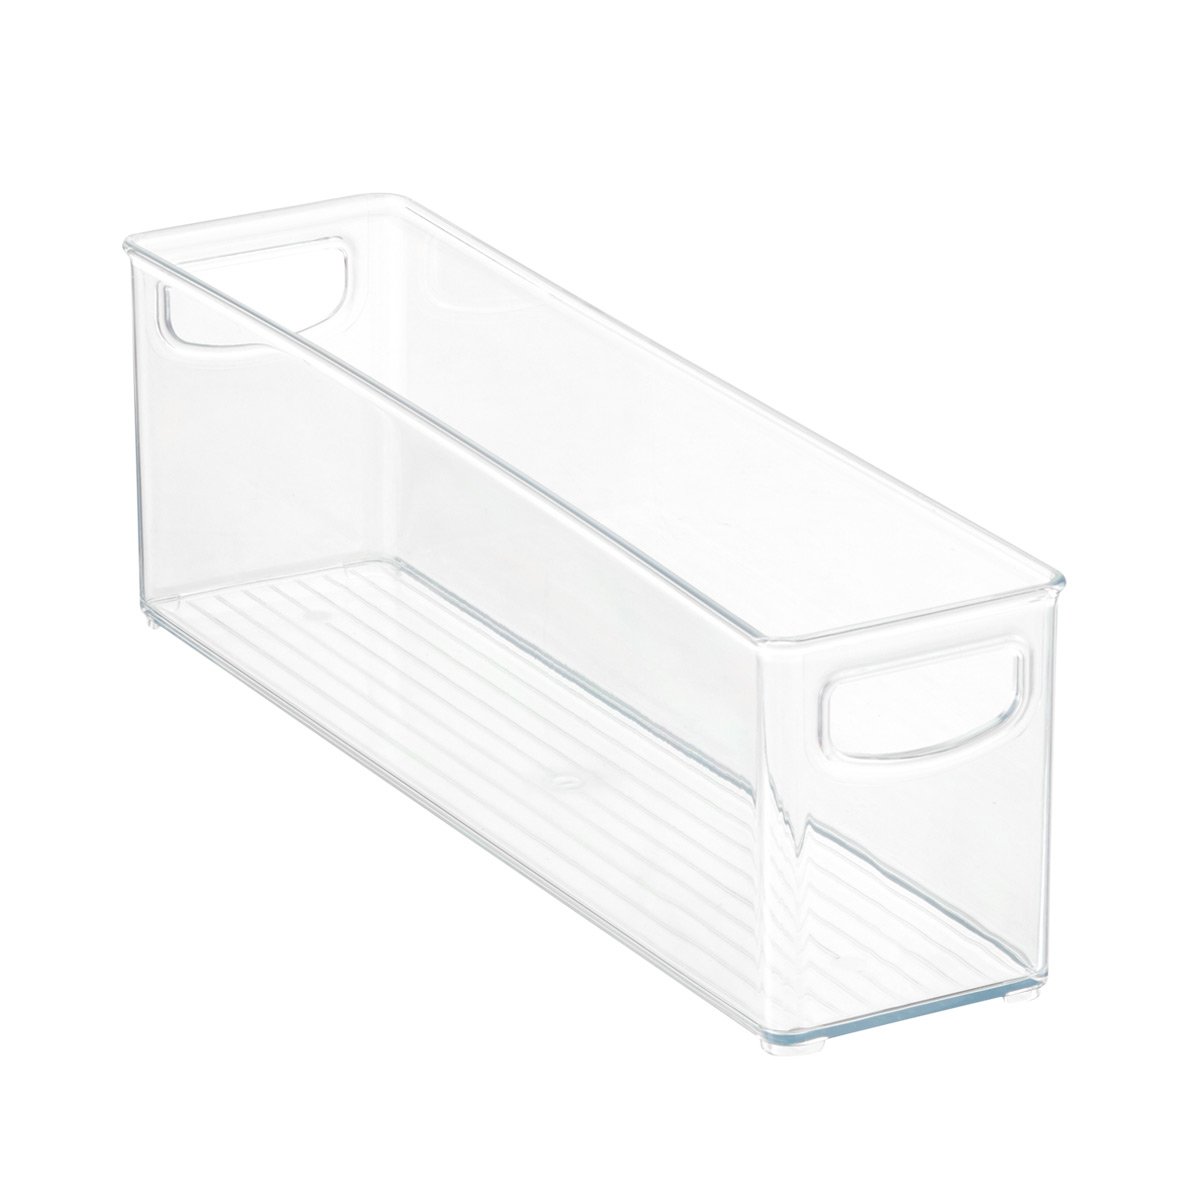
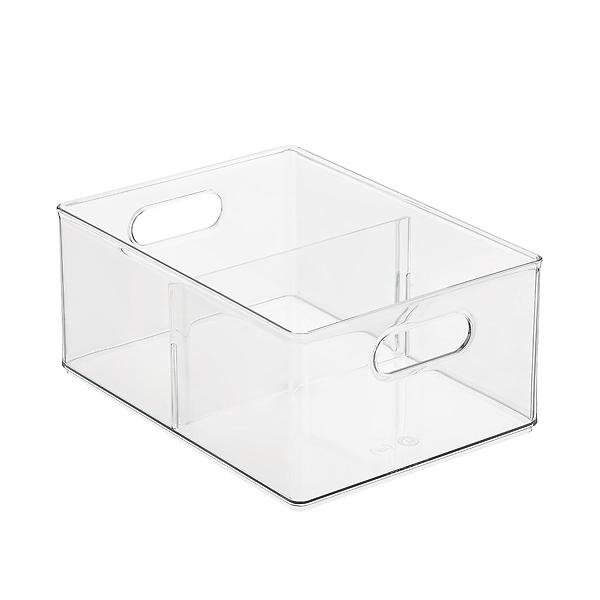
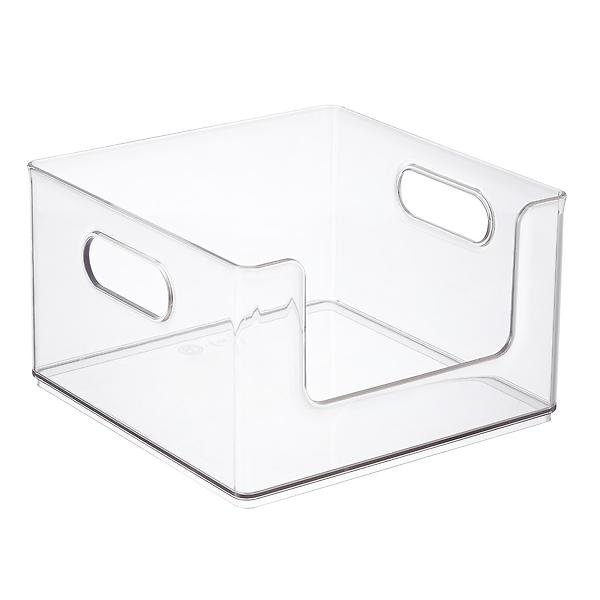
A product that I’ve been using lately with my clients to organize their kid’s snacks in the pantry is the Everything Organizer from the Container Store. I find that they are the optimal length, maximizing the depth of most pantry shelves. They come in a variety of widths which is great to have different options depending on the snack type. For example I like to use the large size for lunch chip bags and then the small size for things like bars or jerky. The bins have a handle for kids to pull off the shelf and the clear bin allows kids to easily see all its contents.
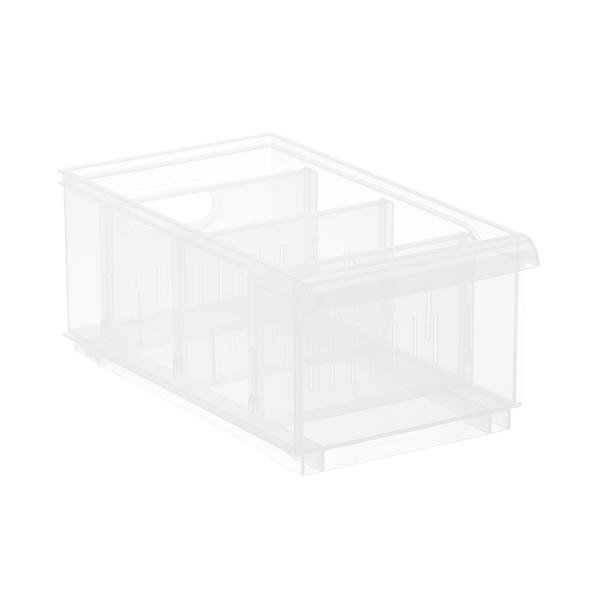
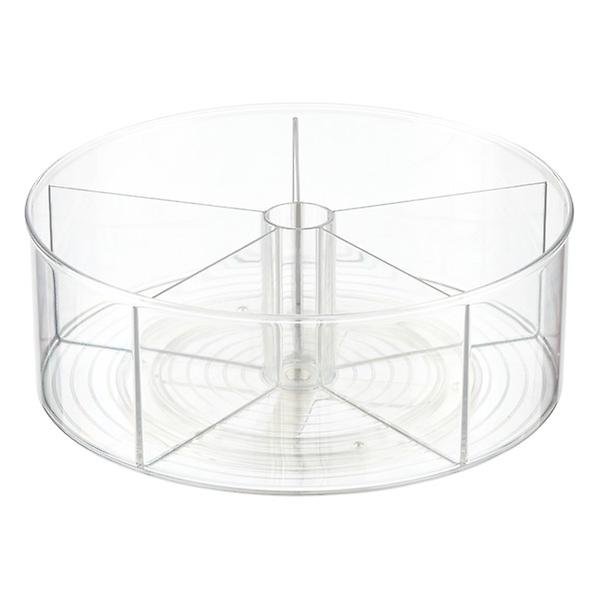
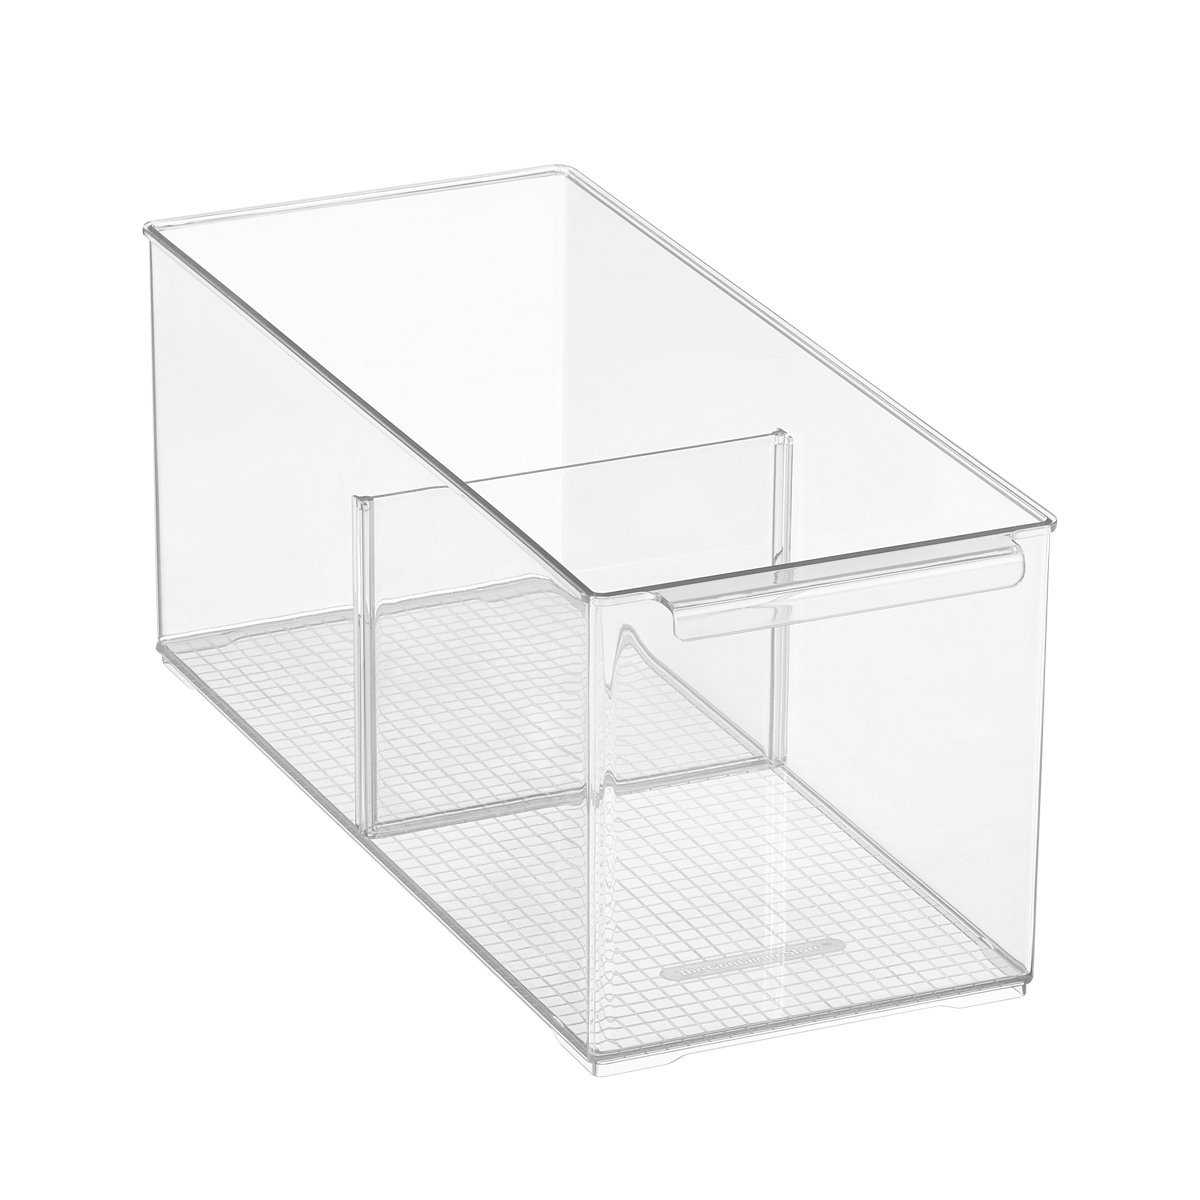
Below are some other great options to use when organizing snacks in your pantry:
Label:
The last step in the project is labeling the snack bins. Labeling helps keep your pantry organized in the long run. If you like to buy a variety of snacks and the type of snacks change often, I recommend just labeling the bins “Snacks”. However if there are categories of snacks that stay pretty consistent despite brands changing (like bars, chips, etc.) I recommend labeling a few of these by category name. Black tape that you can write on with a white paint marker is a great option for labeling if you don’t have a labelmaker.
Happy organizing!!
Some of the links above are affiliate links. Which means, we get a small amount of money from the vendor, if you purchase through us. With or without the affiliate link, these are our favorite products. Happy organizing!


